To enable motion detection on an IP camera first log in to the camera’s web browser and select ‘Setup’ from the top right hand side.

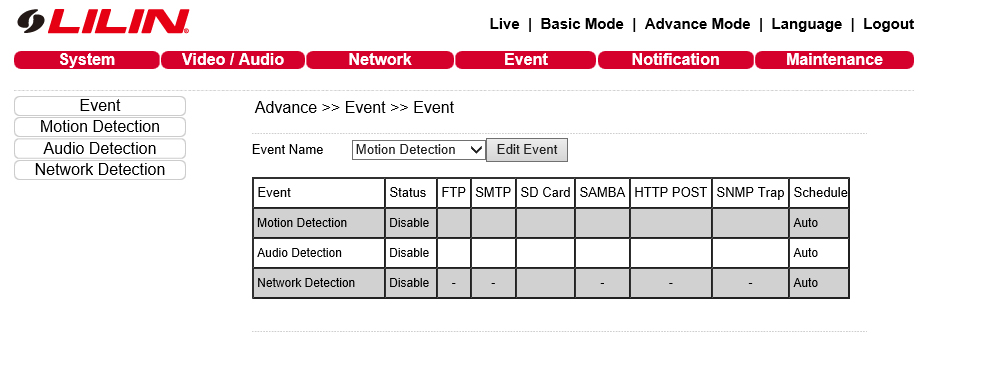
Next select ‘Event’ from the red bar across the top of the screen.

The next step is to set up the motion detection area and sensitivity, to do this select ‘Motion Detection’ from the bar on the left.
This will now take you to a screen displaying the camera’s image with a grid overlay. As default the entire grid should have a red highlight, the red highlight indicates active motion detection zone.

You will need to mask off area’s within the image that you do not want motion detection to trigger when something moves in these sections. To do this right click and draw the area’s required, you should notice that the area highlighted will turn clear, this means no motion will be detected in this area.
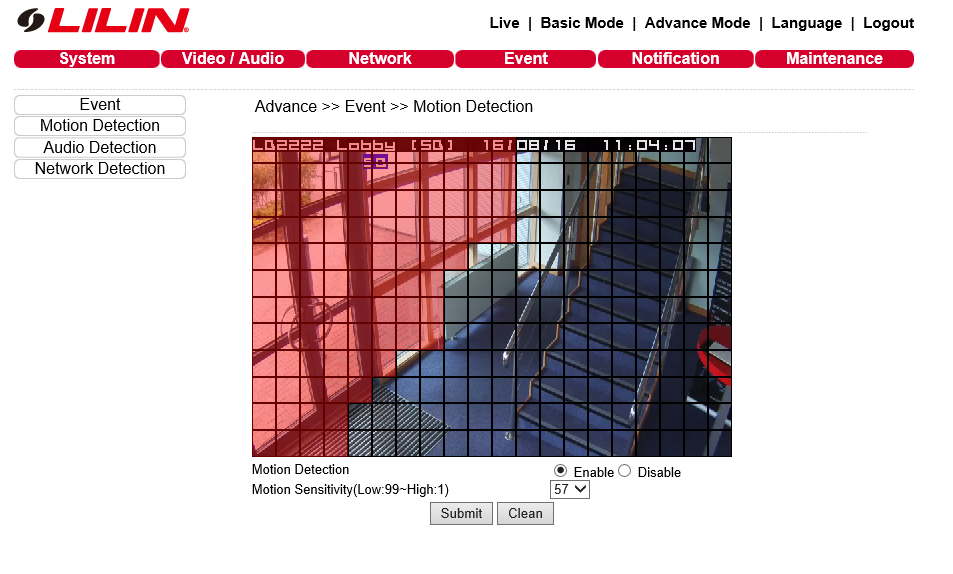
The next is to enable motion detection using the ‘Enable/Disable’ radial options.
Once motion detection is enabled you will need to adjust the sensitivity value. This value will be specific to the scene your camera is looking at, this is usually trial and error to find the best value.
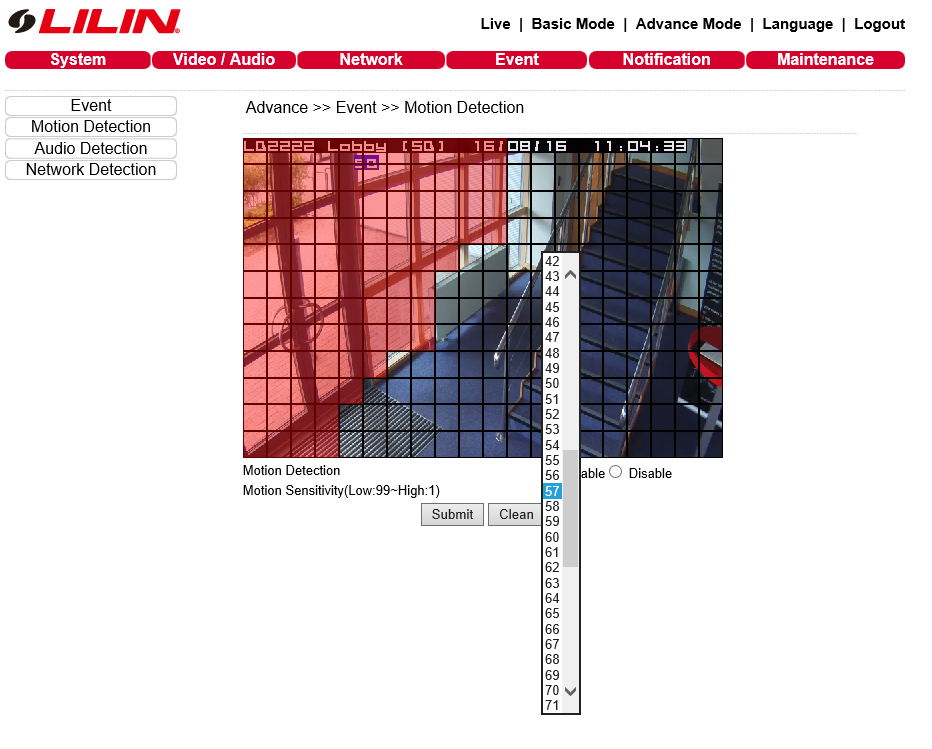
Once your value has been set, select ‘Submit’. This has now enabled motion detection on your camera. To see if motion detection is working correctly, go to the camera’s live view and wait for motion to occur in the scene. If the motion detection is working correctly, you will see a motion detection  appear when motion is detected.

0 Comments